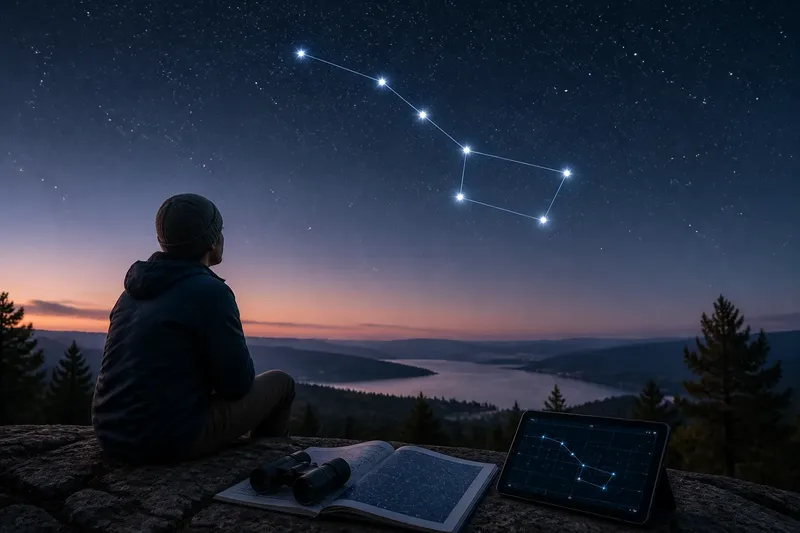
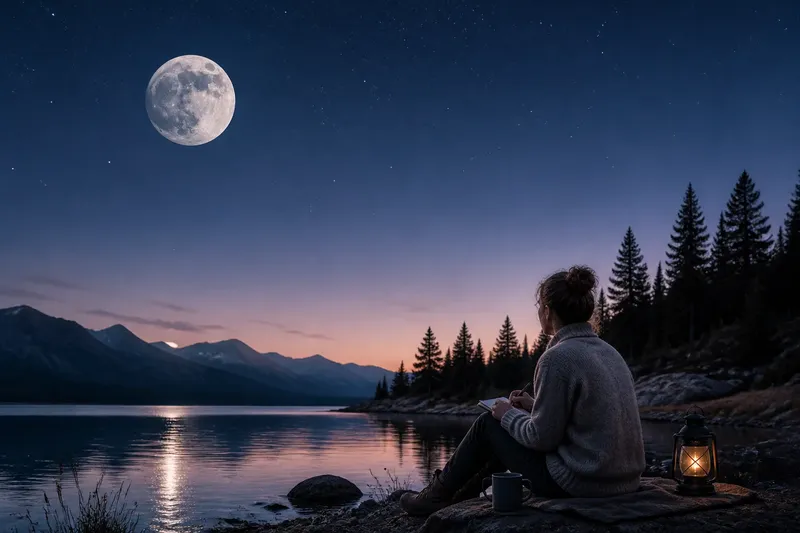
A Moonlit Evening for Watching the Sky
A Moonlit Evening for Watching the Sky makes lunar observing calmer: follow the changing edge with brief notes and sketches instead of chasing objects.
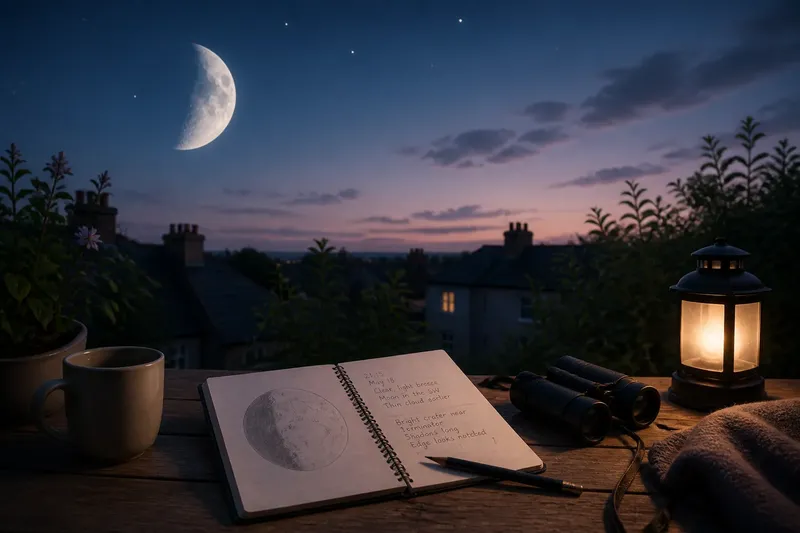
The Moon slips above the rooftops as a pale crescent, and the first stars fade from view. A notebook, a pencil and a few quiet minutes are enough to make this a rewarding evening. A Moonlit Evening for Watching the Sky works best when you follow one thing closely: how the lunar surface looks from your own patch of sky.
Rather than turning the session into a hunt for a long list of objects, give the Moon your attention and keep a record you can return to. These seven choices help shape an unhurried observation.
1. Choose a comfortable spot
Pick a place where you can see the Moon without craning your neck: a garden chair, a balcony or a sheltered public space can all work. Check that the view is not blocked by a roofline or tree where the Moon is expected to sit. A stable seat matters more than a dramatic viewpoint; if you are comfortable, you are more likely to notice small changes.
Allow your eyes to adjust to the surroundings, but do not treat darkness as a goal. A porch light or dim torch can make writing easier, and the Moon itself is bright enough to observe without turning off every light. If you are outside, choose a place that feels secure and suits the local conditions.
2. Follow one lunar feature
Start with the boundary between the lit and unlit parts of the Moon, called the terminator. Its position gives the view a clear organising line: craters and ridges near it often cast long shadows, while features farther into the sunlit area may look flatter. You do not need to name those features to notice their shapes.
Look for a distinctive dark patch, bright crater or notch along the terminator, then use it as a visual anchor. The aim is not to claim that the surface has changed during your sitting. Instead, you are recording how the angle of sunlight makes its relief appear.
3. Make a simple sketch
Draw a circle for the Moon and mark the shape of its illuminated edge. Add the terminator as a curved line, then sketch only a few dark areas or conspicuous bright spots. Keep the drawing spare. A map of the view is more useful than a detailed illustration that takes so long you stop looking up.
Write the time beside the sketch, along with a brief note on the Moon’s position in the sky and the cloud conditions. If a feature is unclear, mark it with a question mark rather than guessing. A small uncertainty in the notebook is better than a confident but misplaced label.
4. Keep notes brief
Choose a few prompts before you begin, such as: What is the lit shape? Where does the terminator curve? Which feature catches your eye? A short answer to each is enough. Descriptive words such as “smooth”, “notched” or “shadowed” help preserve what you actually saw without forcing an identification.
Think of the notes as labels on a sketchbook page: useful when they point to a detail, distracting when they crowd it. Avoid writing a running account of every glance. Look, record a few words, then look again.
5. Give the view time
Stay with the same feature for a while, allowing your gaze to settle. On a clear evening, the view may seem steady; thin cloud or atmospheric shimmer can soften edges and make detail come and go. These conditions are part of the observation, not a reason to force a sharper view.
Say you settle beside a kitchen window and notice a bright crater near the shadow line, but cloud keeps sliding across it. You sketch the crater’s rough position, note “cloud passing; edge hard to judge”, then return when the view clears. The expected result is a record that distinguishes the visible feature from the temporary haze, rather than an overconfident drawing.
6. Compare another evening
If you repeat the observation on a later evening, use the same viewpoint and keep the earlier page nearby. Compare the shape of the lit portion, the terminator’s position and the shadows around your chosen feature. The Moon’s appearance changes as its position in its orbit changes, so the illuminated fraction and the direction of sunlight across the surface will not look identical from one evening to another.
Make the comparison gently. A clouded or hazy view may hide details, and a feature that stood out before may now be hard to distinguish. Note what is different in the view without treating every difference as a change in the lunar landscape.
7. Let the session end
Decide in advance what will count as a satisfying stopping point: one sketch, a note about the terminator, or a final look at the Moon before it reaches a blocked part of your view. This keeps the evening relaxed and gives your attention somewhere to land. You are not obliged to fill every page or wait for a particular object to appear.
Store the notebook and pencil where you can find them next time. If you use binoculars or a telescope, follow the maker’s instructions and keep the session within your comfort and ability; unaided observation is enough for this approach. The main search phrase, a Moonlit Evening for Watching the Sky, describes a useful habit as much as a plan: return to the same bright companion, notice what has changed in its appearance, and leave yourself a clear note for the next look.
Questions about lunar evenings?
Can I watch the Moon without a telescope?
Yes. The changing outline, dark maria and shadowed edge are visible to the unaided eye when conditions allow. Binoculars can bring out more detail, but they are not needed for a sketch-and-note session.
Does moonlight make stargazing pointless?
No, though bright moonlight can make fainter stars harder to see. Since this plan centres on the Moon, that brightness is part of the scene rather than a problem to solve.
What should I record if clouds interrupt?
Note which part of the Moon was visible and whether cloud softened or concealed the detail you were following. You can leave gaps in the sketch and return to it later rather than filling them from memory.
Should I name craters in my notes?
Only if you are confident about the identification and it helps your comparison. A description of a bright spot’s position or a crater’s shape is a useful record on its own.